Learn How to Talk to your Framer to Get Exactly What you Want!
Do you have something you’ve been wanting to frame, but when it comes to deciding on the treatment for your piece you feel lost? We made a quick start guide on basic framing terms to simplify the process and bring you closer to having the walls of your dreams!
The purpose of framing is both to hang up your masterpiece in a style that compliments the art and surrounding decor, and to properly store and preserve the piece from the elements, keeping it fresh and safe.
It is best to decide on a frame in person with your framer where you can hold up a sample corner to your piece to see if it will compliment it, but read below ahead of time to get an idea of what you might want to request!
I. The Molding/The Frame:
“Molding” is what we call the material of the frame. It is usually wood, metal, or plastic.
The “rabbit“ groove of the molding for glass
Frames for glass. These frames have a lip or what we call “rabbit”. It’s a small shelf groove to hold the glass from popping out the front of the frame.
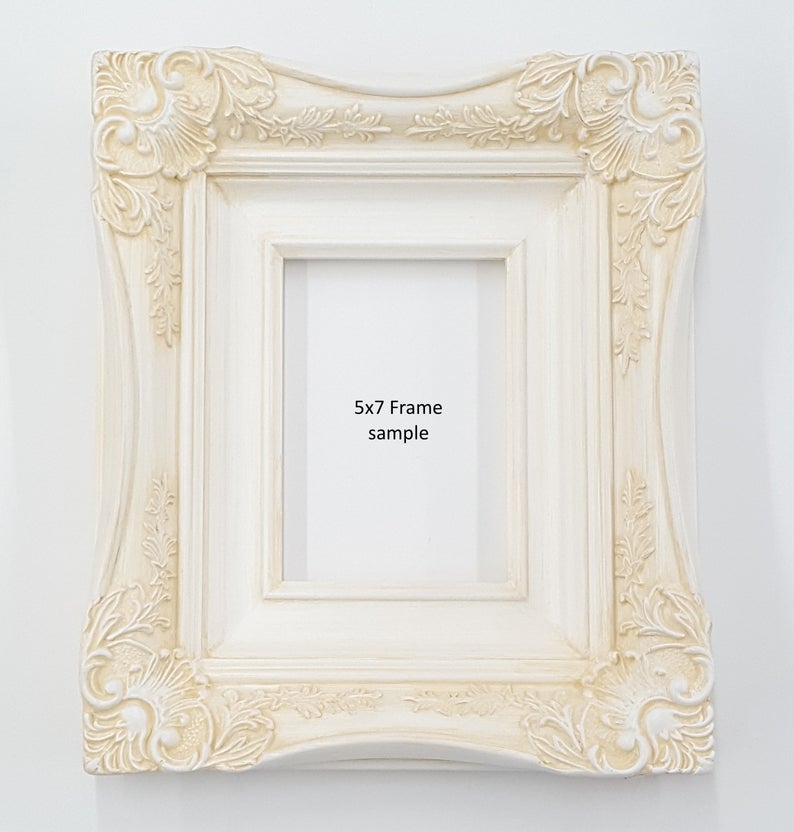
Here is a 5” x 7” frame
Floater Frames: This frame is used without glass as it doesn’t have a lip to hold glass in but instead has an open front where your art is held in place but has the appearance that it is not touching anything and is “floating” in place. This is commonly used for framing a stretched canvas or art on wood.
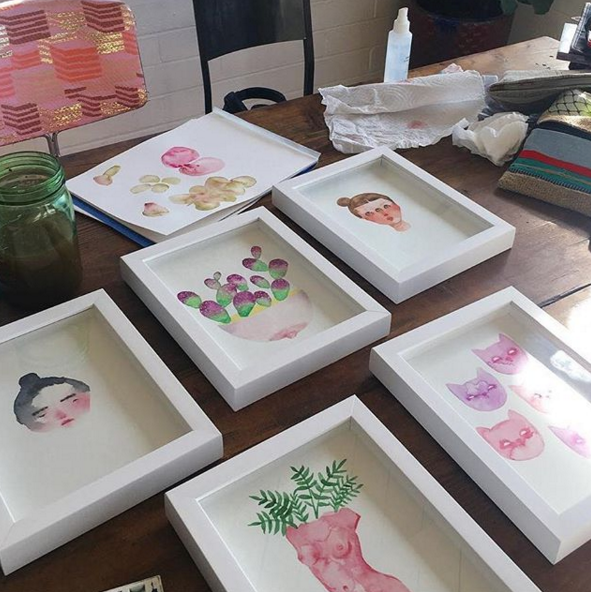
Shadow Box: This frame has deep sides so objects can be framed. Everything from dresses, to kitchen utensils to instruments to jerseys can go in a shadowbox. Mat boards usually line the interior of the box and your piece is mounted inside.
II. The Mat:
@pascalshirley A thick single mat placed slightly outside the print’s edge to give the photgraph more space and depth.
Single mat: Single mats add extra decoration to your art and are available in virtually every color. A popular design trend when framing small art is adding a much larger mat. This creates a lot more attention on your wall and draws the viewer in to the finer detail.
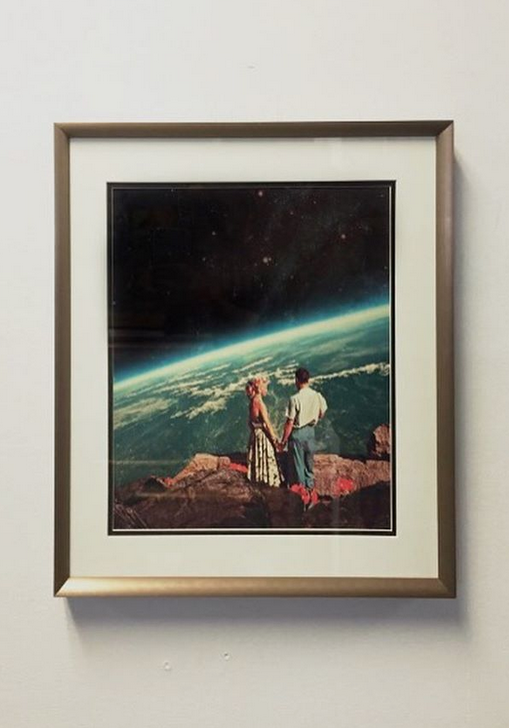
Double mat: using a second layer of mat board underneath the first, you can compliment a chosen color within the piece, or match your decor scheme.
A black double mat under white.
Float Mount: Artwork is attached to the top of the mat so you can see the edges of the artwork. This can be especially nice for watercolors, or a print on deckled paper where you can see the nice textured edge of the page.
@blockshoptextiles
No Mat: You can also skip adding a mat altogether if you are framing a standard poster, or your print already has a white border around it.
@zoebioscreative Left: the print is framed flush with the frame, Right: the print’s white border is left shown having a similar effect to having a white matt
III. The Glass:
Different glass features are available to best preserve and present your piece.
Regular: Normal Glass to protect the artwork or poster from dirt and dust.
UV: Used for when you plan to hang your piece where there might be sunlight to protect and slow down the photo or artwork from fading. note: even with UV, direct sunlight for a long period of time is not recommended as over time the sun will win.
Non-Glare. This glass has a matte finish that disperses reflections but allows your piece to be seen clearly, such as when there is bright overhead light reflecting and thus distracting from being able to look at the image.
Here a “Museum glass” is used, the most expensive non-glare glass treatment you can get. @swoszowski
It is the closest thing you can get to looking like there is no glass at all though your piece is being preserved.
Acrylic/Plexi glass. More expensive than regular glass. This is used primarily for pieces that are being shipped, to help prevent breakage or damage of artwork, and also for hanging oversized pieces where the weight is a consideration since acrylic is lighter than regular glass.
The above glass treatments are available in either glass or plexiglass. Example, non-glare is available in either glass or plexiglass.
@hysterixa watercolor’s in white shadow boxes


